Installation System
Important note - Public Directory
After installing be-commerce, you need to config your web server's document webroot to be the /public directory.
Administrator: [email protected]/ Pass: admin123
Follow the steps below to install the Becommerce system.
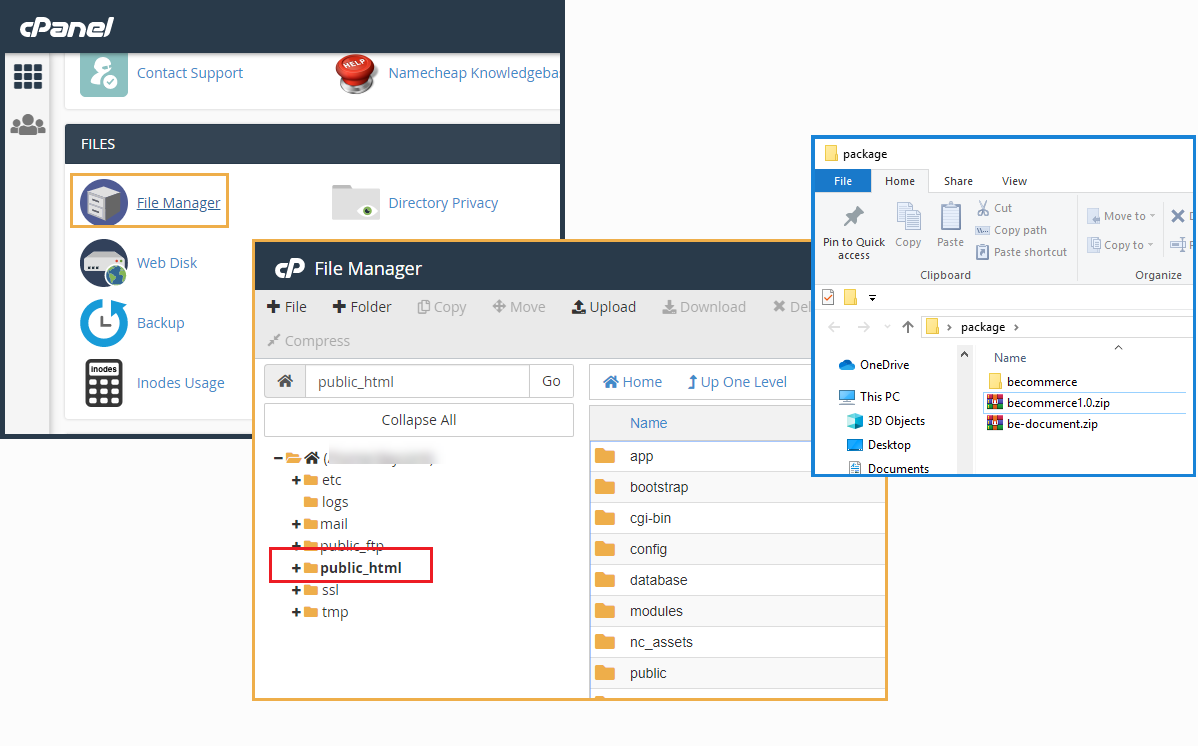
Step 1 – Unzip the downloaded package from Codecanyon. Find the folder Becommerce and inside it find the file becommerce.zip inside it.
Step 2 – Upload becommerce.zip file into the root folder of your hosting (normally, it is /public_html). and UNZIP file.
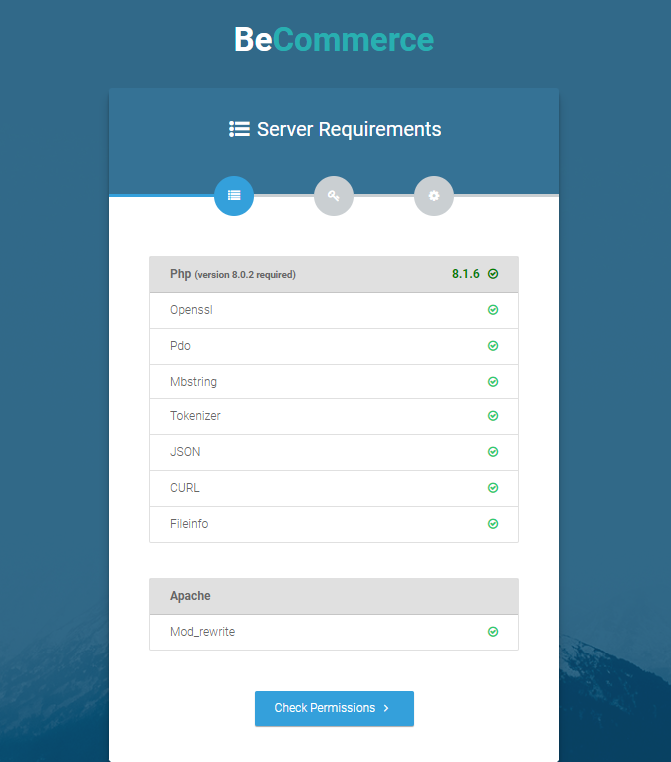
Step 3: – Open Browser with link URL: http://linkURL.com/install then Follow the panel to Install the Becommerce System
This is some Serve information that is required for Becommerce System, please contact your Supporter if the system is failed
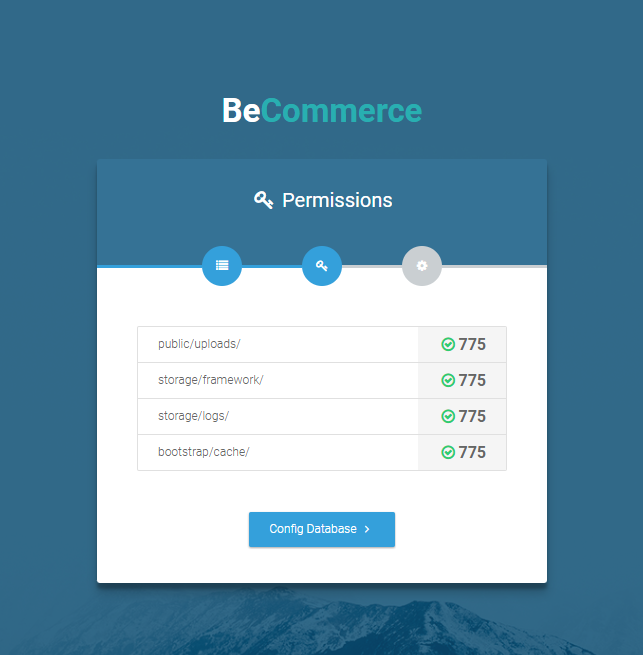
And Folder permission needs to be set is 775

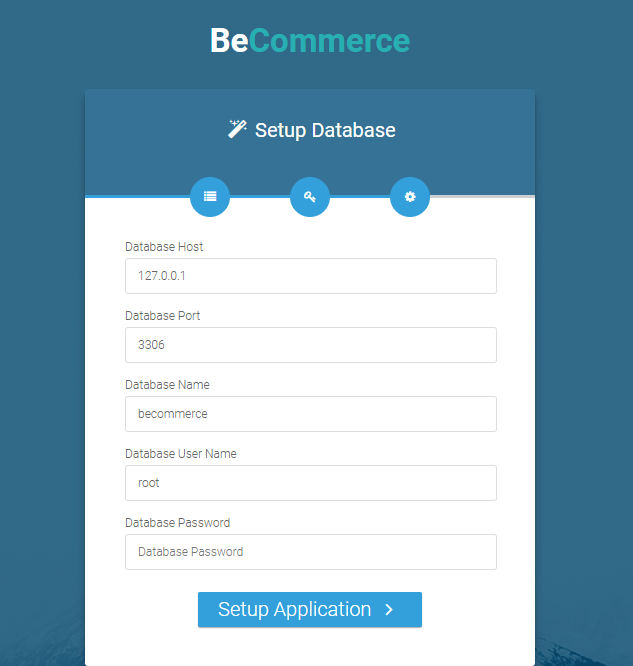
Step 4: Create a database and input your DB information.
Continue entering some your hosting information like DB host, DB Post, DB Name, User of DB and Password then press Setup Application button to next to Application Step Or Edit .env file for install DB
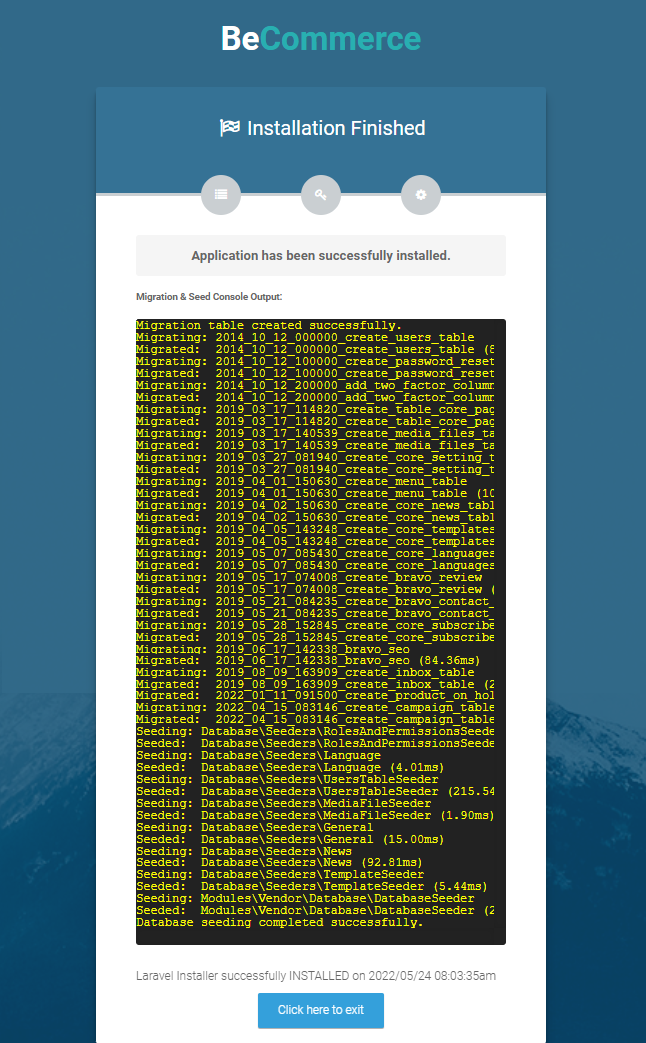
This is the Installation Finished panel:
Finally, Go to /admin to access to admin panel: YOURDOMAIN.com/admin, replacing "YOURDOMAIN" with the actual domain you own.
Administrator:
Username: [email protected] / Pass: admin123
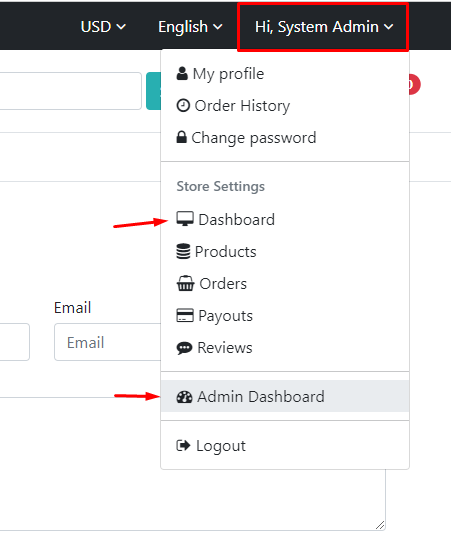
Or access your Dashboard by this link:

Was this article helpful?